Jim's "Easy" DIY Lithium Battery Upgrade
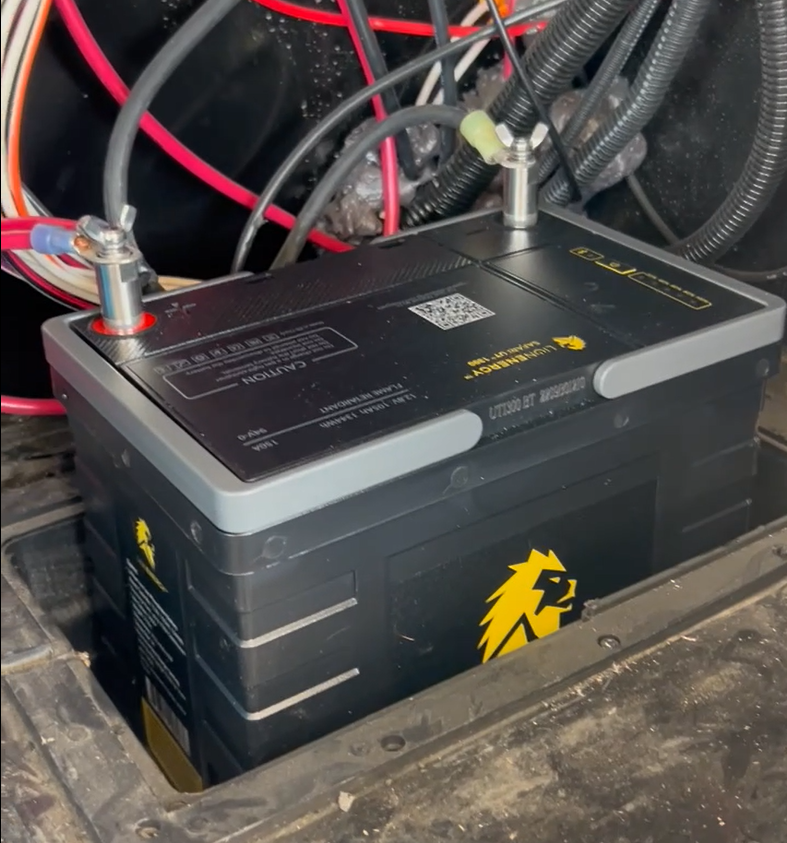
We finally decided which battery upgrade to make and went with a single Lithium LiFePo. It’s a Lion Energy Safari UT 1300 with 108 AH. Since we can run it down to basically dead without harming the battery we can use almost all those AH whereas our current Lead Acid battery can only go down to 50% or so without harming the battery and only has 77 AH at max. It has a lifetime warranty and was about $900 at the State Trailer RV and Outdoor Supply where we’d been dumping our gray water.
Our ’22 Reflection 337RLS power converter can’t handle Lithium batteries so we also had to upgrade that. We made the decision to go with a single Lithium battery because of the difficulty of modifying the battery box. The floor in the front compartment is metal and not wood. I don’t have anything to cut it with but the Lithium battery we bought is basically the same size as the one we are removing so it’s an easy swap. Also, we will have everything in place to add more solar or another Lithium battery in the future if we need it. We don’t want to go overboard on solar and batteries because we aren’t sure how much boondocking we’ll be doing. We know we’ll do 1-nighters and maybe 2-nighters but I don’t see us going totally off the grid for much longer than that.
The hard part will be the power converter swap because it’s behind the false wall in the pass-through storage compartment all the way back next to the steps. It’s a pain to reach and the power cord goes around the steps up to the power distribution and breaker box under the kitchen counter where there should be a circuit breaker for it and a 120V outlet. I don't know for sure at this point since I haven't torn into it yet and only have seen videos from other types of RVs.
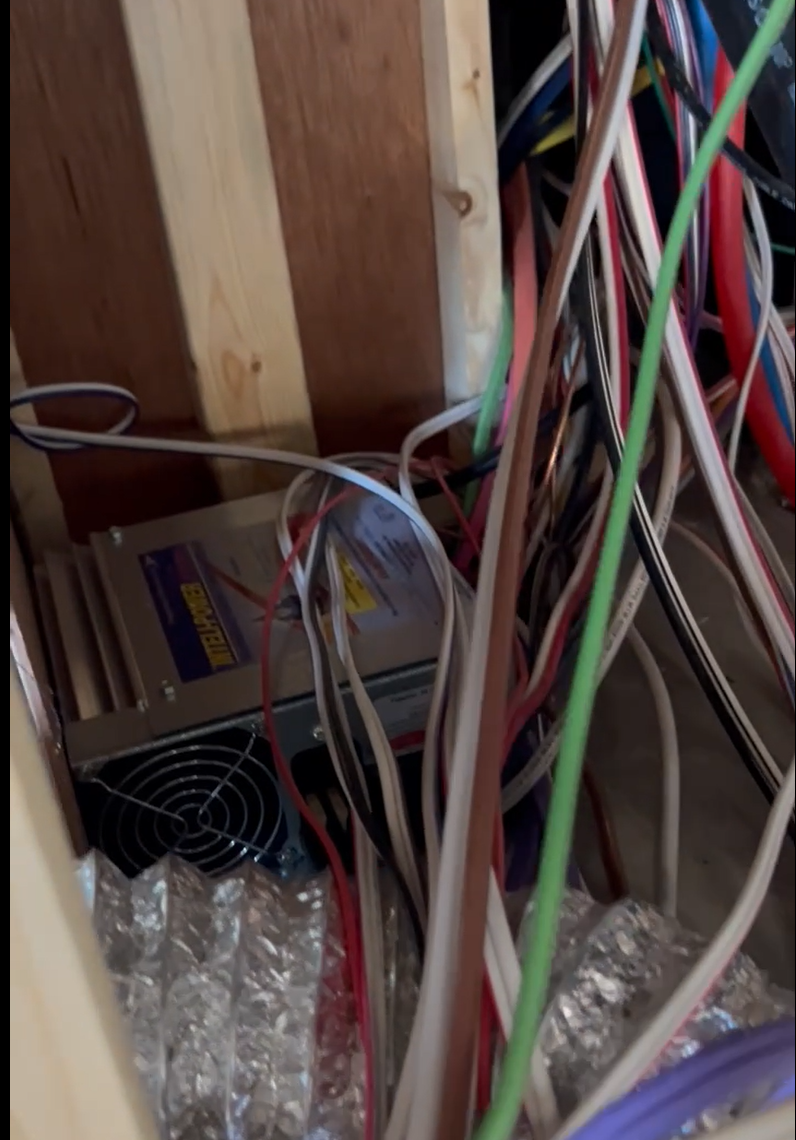
Once again the folks at State Trailer RV and Outdoor Supply were amazingly helpful and double checked my equipment specs to be sure I had all the correct stuff. They recommended a 65A power converter since our current power converter is 60A and the new one only comes in 55A or 65A and we didn’t want to go down in capacity. I brought the materials home having dropped Kim and her sister, Jeannie, off with their Mom and Aunts for a lunch event. I did a little research online to refresh my memory of the steps and began the upgrade.
First, I disconnected shore power so the fuse panel would be dead and then disconnected the old battery in the compartment to kill all power to the rig. Solar was still generating but was disconnected. Next, I pulled the door off the fuse compartment just inside the RV door to have room to work and then pulled the cover off the panel and finally pulled the panel itself out to reveal the 120V plug where the power converter plugs into a dedicated receptacle with it’s own circuit breaker. For good measure I shut the breaker off as well though everything should have been dead anyway.
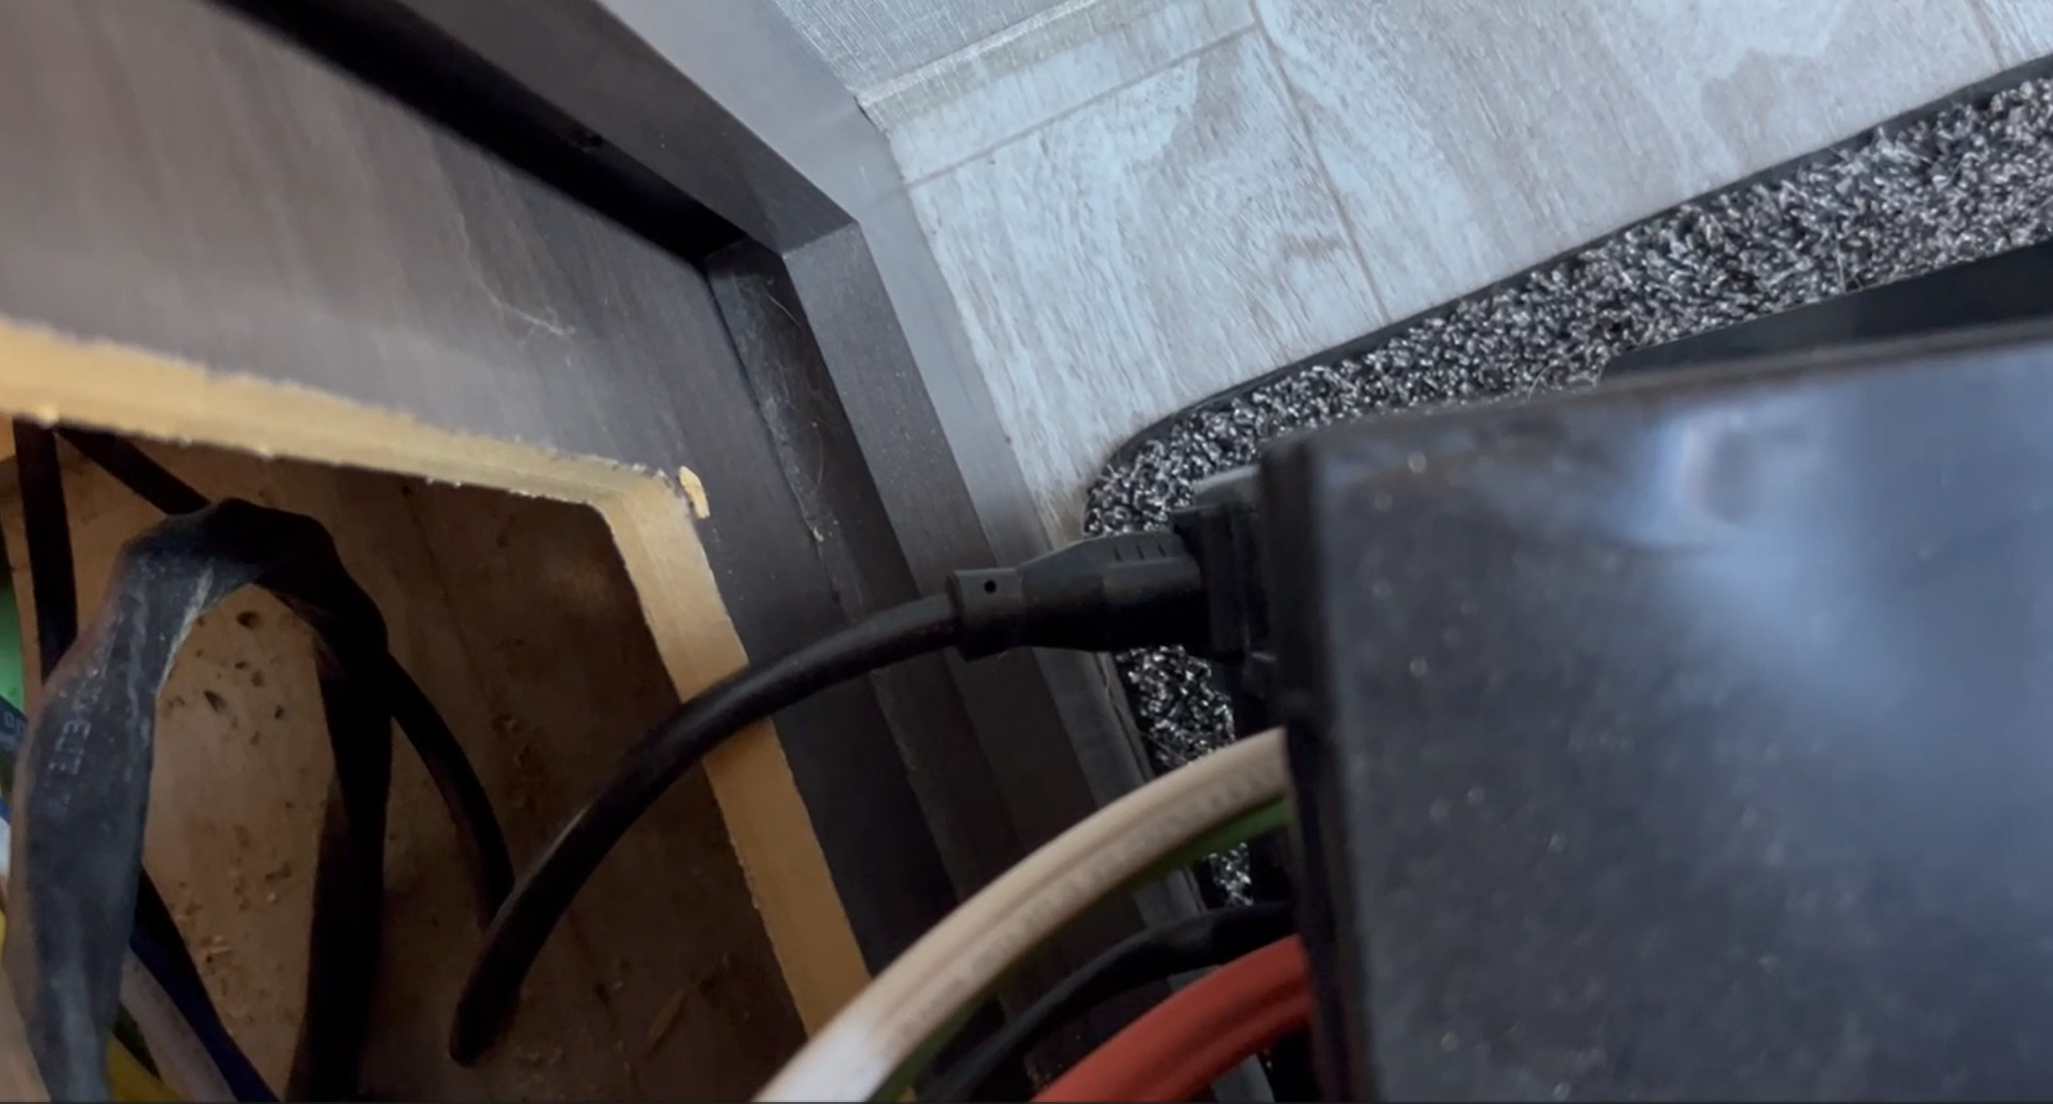
I then pulled the false wall back in the pass-through storage compartment to gain access to the power converter itself. It was about a foot back in behind a heat vent, under 30 some wires next to the steps. I pulled the cord down from behind the breaker box and disconnected the positive and negative terminals that supply 12V to the rig using an Allen wrench. I had to undo two screws, one front and one way in the back to release the converter and then I could reach the ground wire attached to the very back. Luckily, the manufacturer supplied plenty of ground wire because the replacement converter had the ground connection on the front left about as far as you could get from the original one. I reversed the steps and secured everything into place. Now with infinite excitement at how easy this had gone, I headed into the RV to plug in the converter power cord and run some tests. I grabbed the cord from inside the cavity and tried to plug it into the outlet on the back of the breaker panel and it wouldn’t fit! Turns out, it has a weird plug with one prong turned sideways.
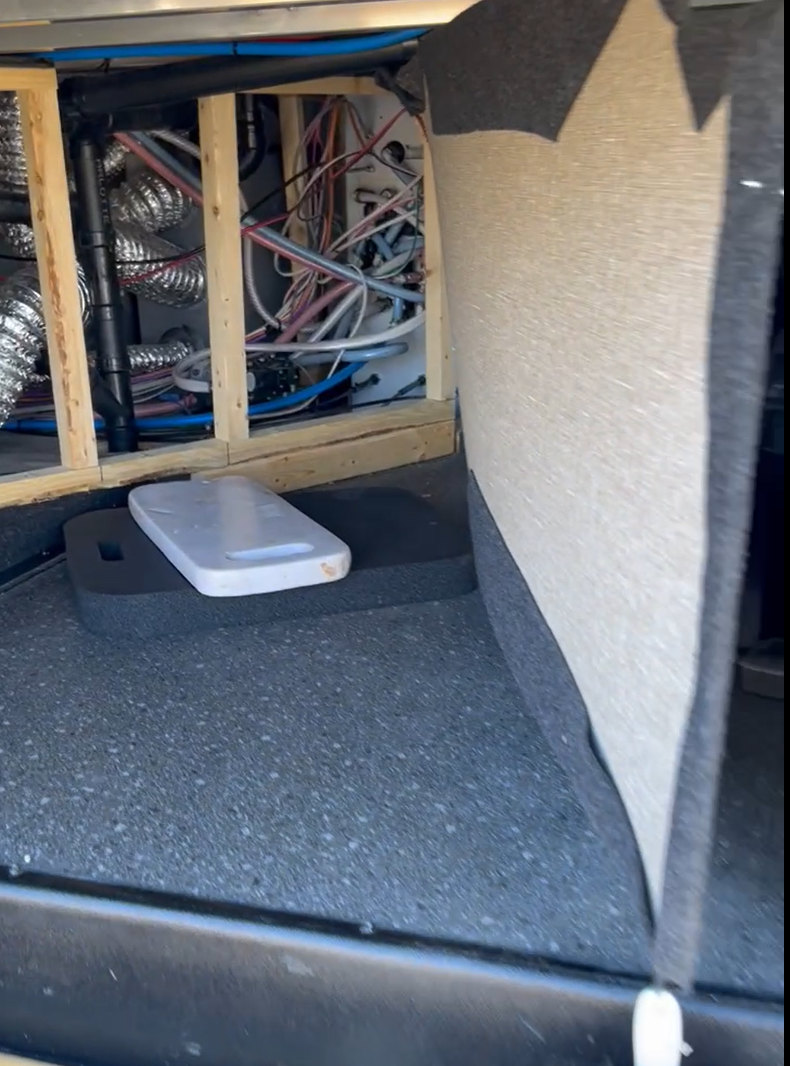
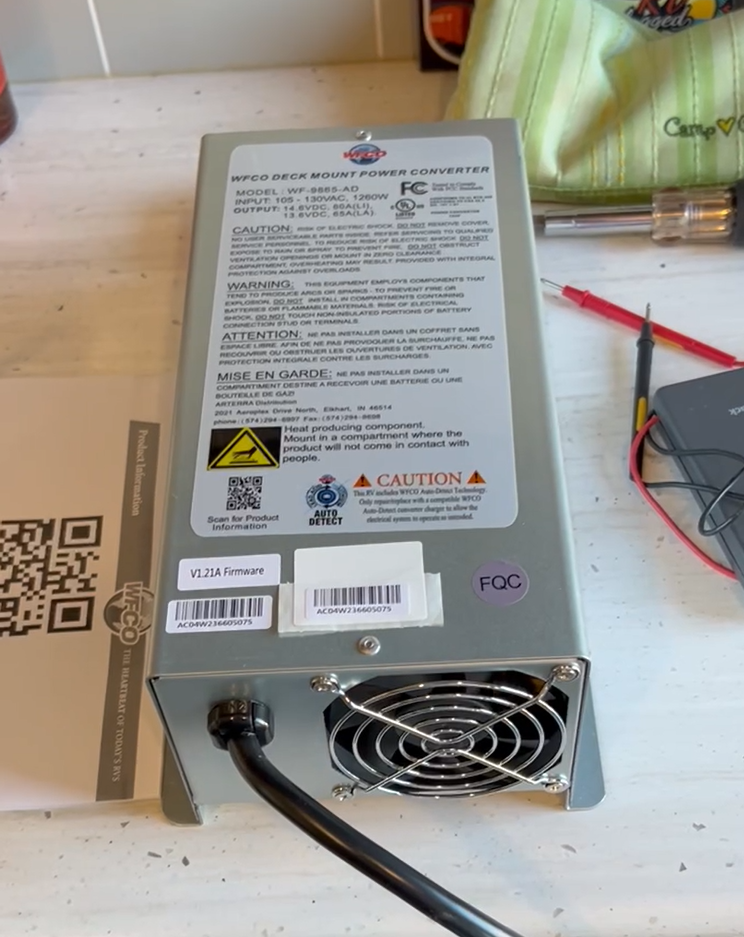
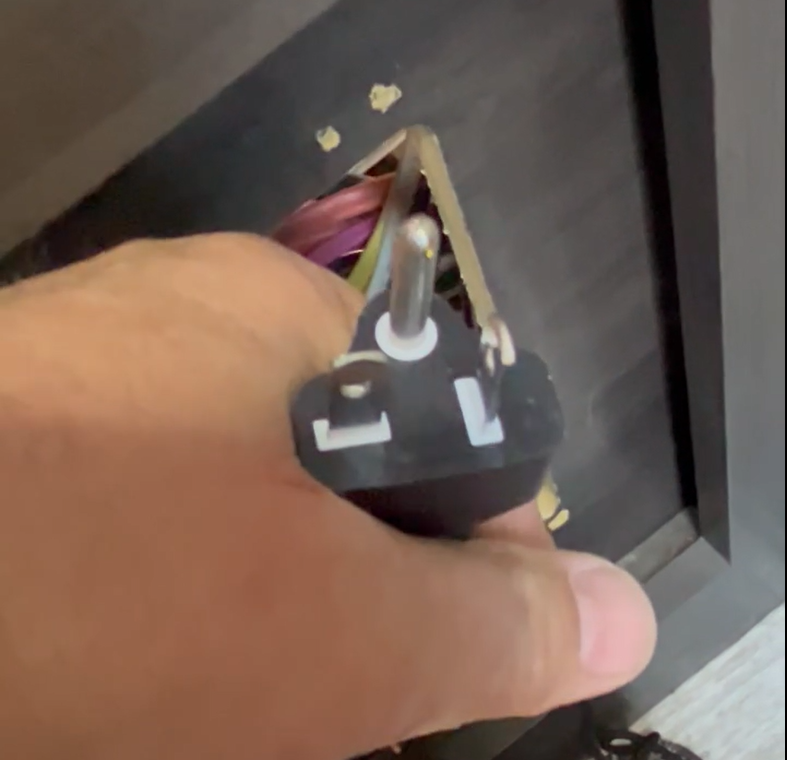
The crawl space, wrong converter and "The Plug"
Not knowing what this meant I figured I needed some kind of adapter so I headed over to my local Ace Hardware to see what they had. I’ve seen odd plugs before but didn’t know all the details that they implied. The “kid” at Ace wasn’t much help and they didn’t have anything like an adapter that I naively thought I needed so off to the next closest business who might be able to help – Home Depot!
The gentlemen at Home Depot was a lot more helpful but not the kind I had been looking for. He explained that the plug I was showing him was a 20A plug which meant that the power converter would pull up to that amount and that the plug on the breaker panel was a 15A system not rated to handle that draw. The breaker would have to be upgraded, the wire would need to be upgraded and the receptacle would need upgrading to handle the increased draw. And, there it was, the snag! This project had been going way too smoothly for one of my upgrade efforts! I’m always wondering where the snag is going to come from. I hadn’t planned to make that level of change to the RV. Now I was stuck and thankful I hadn’t found an adapter!
Armed with this new knowledge, I headed back to the guys at the State Trailer RV and Outdoor Supply to see what they recommended. Surely, they have seen this issue many times and can tell me if that power converter actually draws 20A or not. I thought, they must have run into this all the time, right? I described the situation, picture of the cord in hand, and they looked at me like I had three eyes! The manager asked one of the guys to go get another one off the shelf and opened it to reveal a cord that they all gawked at with it’s wacky horizontal plug on one side. They all looked at each other and said “I’ve never seen one with a 20A plug before.”
One tech is now googling to see what the manufacturer says about the actual draw on the power converter and another heads over to grab a 55A version of the same thing to see what that has for a cord. It turns out to have a regular 120V, 15A plug. Now the manager asks the tech on the computer to convert the watts on the first one to Amps and voila it comes out above 15A so the 65A power converter needs the higher Amp connection. The same conversion on the 55A version revealed it would work at the 15A level. Now we had our explanation. That particular manufacturer’s 65A product was built to pull much more power than my current one. So, they sold me the 55A version and I headed out to install it.
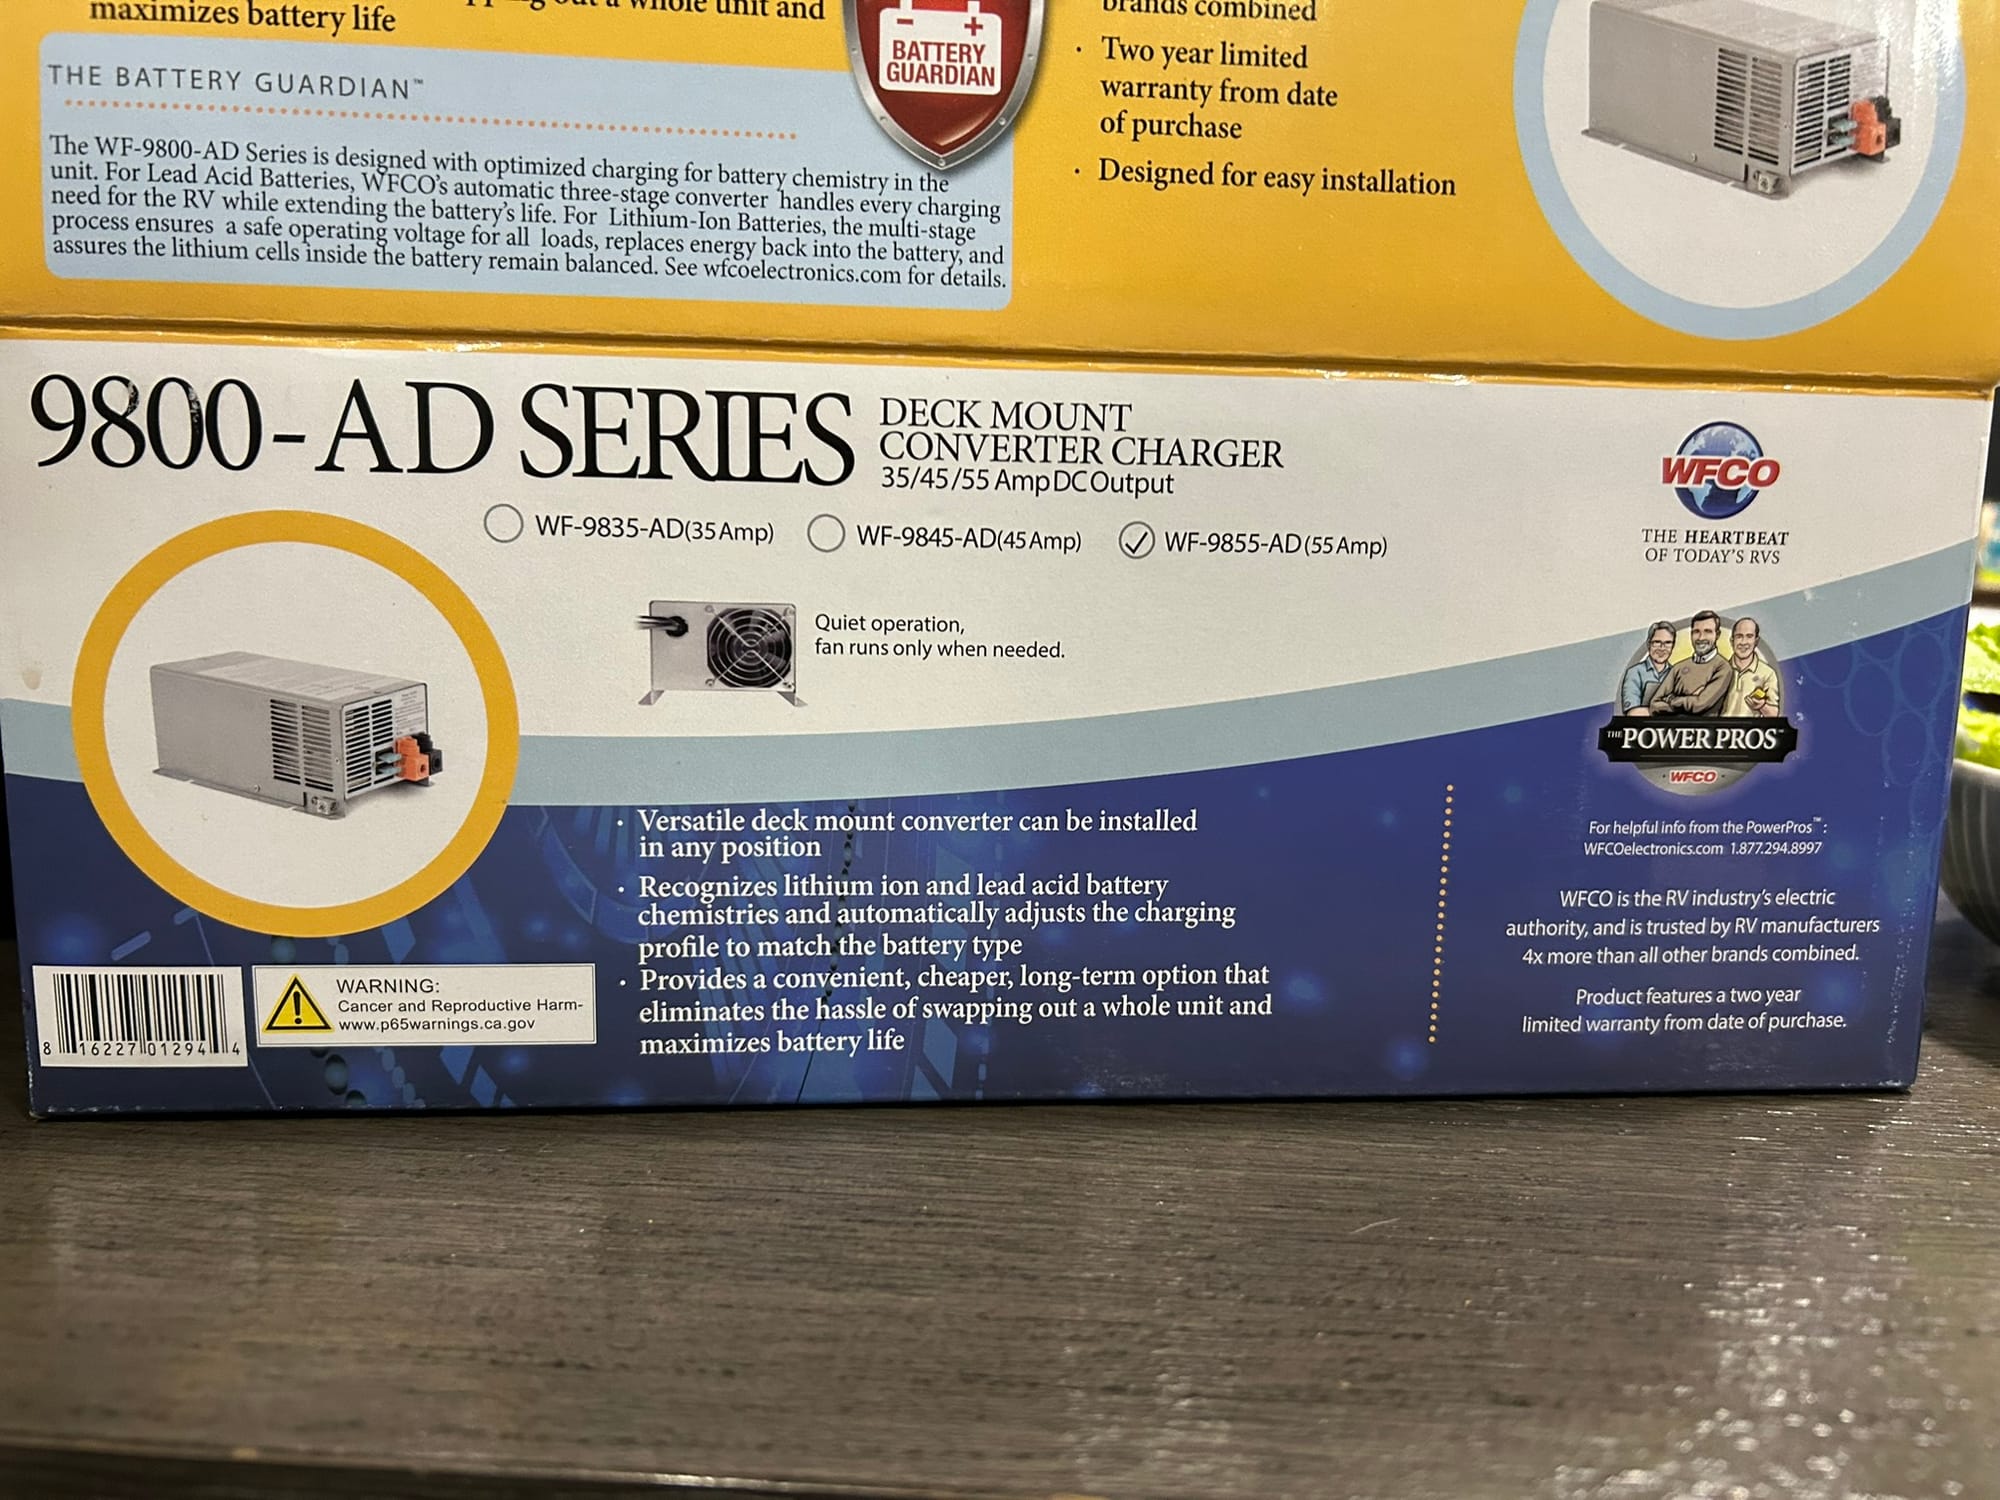
Just one problem, I had to go pick up Kim and Jeannie at their Aunt’s and bring them back also. The RV has now been powerless for several hours in the heat of the day with the dogs inside and only windows open as well as the refrigerator being unpowered. I headed south for Kim’s Aunt’s house, picked them up and headed back to the rig with the sun now going down to finish the install.
Once again I loosened all the connections to remove the old-new one and reversed the process for the new-new one (confused yet?) and went up to plug it all in and button up the breaker box. Once that was complete, I installed the new Lithium battery that had been patiently waiting for it’s turn. Oddly, nothing in the rig would turn on. I had expected the lights and refrigerator to power up but they didn’t. I had thought the battery would be fully charged and the Furrion meter inside was indicating a full charge on the battery, but nothing powered up. There may be a delay timer in the circuit somewhere that one of the videos mentioned, so I plugged in shore power and everything lit up. We unplugged shore power after a few minutes to check the battery and the lights dimmed but held and we plugged it all back in.
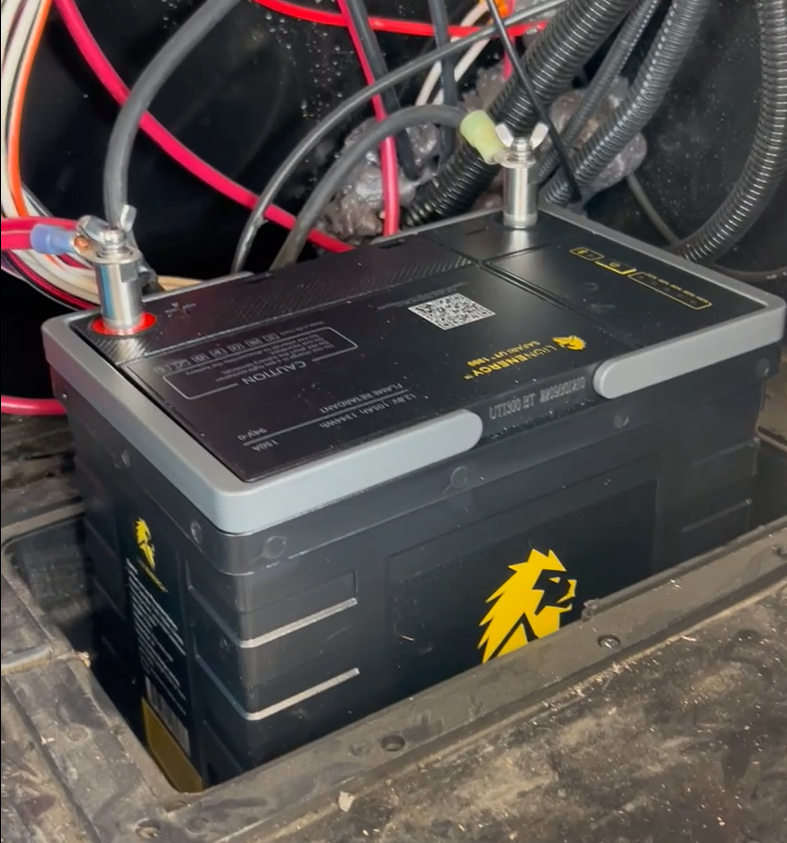
It was at this point that we remembered that the new Lithium battery had a Bluetooth connection to monitor it, so I downloaded the Lion app and connected to the battery. It showed only a 30% charge on the battery which explains the dimming of the lights. It took about 3 hours for the battery to fully charge, and it’s been holding strong ever since. Still, I had a nagging worry about why the Furrion battery monitor wasn’t indicating the right battery status. Back to Google, to find out that every time you change the battery (and periodically over the life of the battery) you have to calibrate the monitor. Now it was all explained.
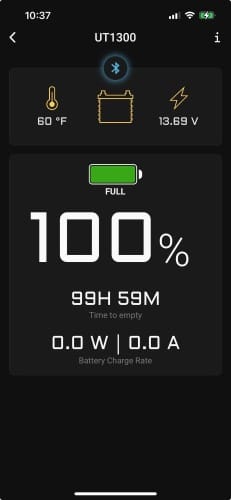
So, the “easy” Lithium DIY project is complete and except for grabbing the wrong power converter initially, it was actually easy and straightforward! I am truly thankful to the folks at State Trailer RV and Outdoor Supply who were so very helpful throughout the entire process, answered all my “dumb” questions and allayed my fears. I have a long history of having issues when doing projects, needing many trips to Home Depot, etc. and this lived up to my “3 trip minimum” average!
If you are anywhere near Phoenix, I can highly recommend the folks at State Trailer RV and Outdoor Supply. I had a great experience working with them and their store is packed full of everything you could possibly need for your RV!
